
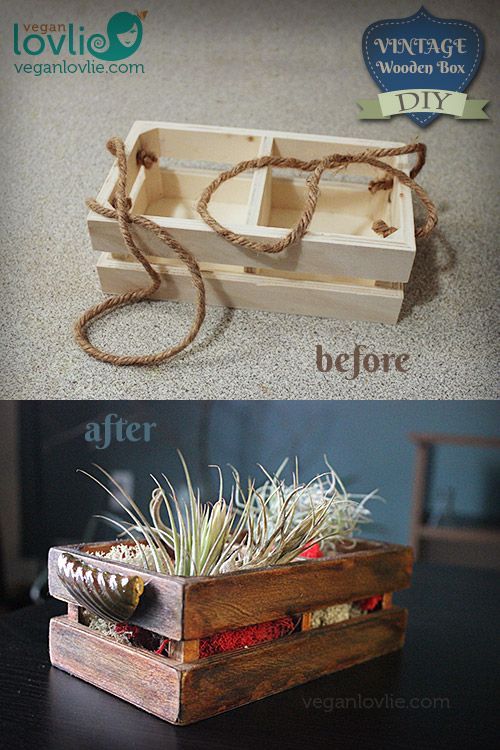
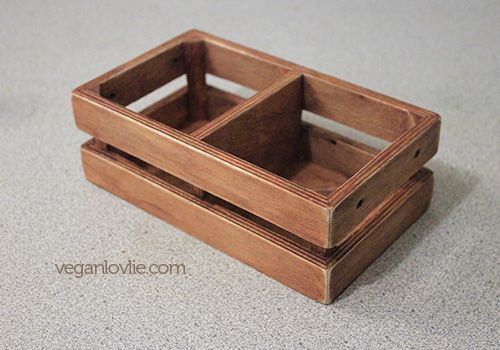
Lying in some corner of my ever growing pile of collected bits and bobs was this plain wooden box I picked up for a couple of dollars at Dollarama. You have got to love Dollarama not only for the cheapness but for the variety of stuffs you can find in there. Being the creative arty type, many a times have I found simple treasures in the craft aisle.
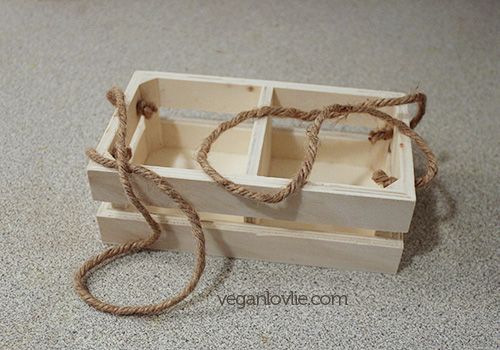
The box stayed for months without being used while I was making up my mind on a suitable project. The idea struck while doing some research on methods of dyeing wood; I found some tutorials on tea stain, coffee stain and adding nails or steel wood for a rustic effect. There are a lot of interesting experiments out there. Since we've only moved into our new appartment some five months ago, there are still ongoing DIYs, addition of fixtures, furnishings and decoration. Boyfriendlovlie and I have some furniture diy projects in mind. So, I wanted to experiment a little with wood stain before tackling the bigger projects. And since I only paid $2 for this little box, I probably would feel that much of a heart pang if it turns out gross.
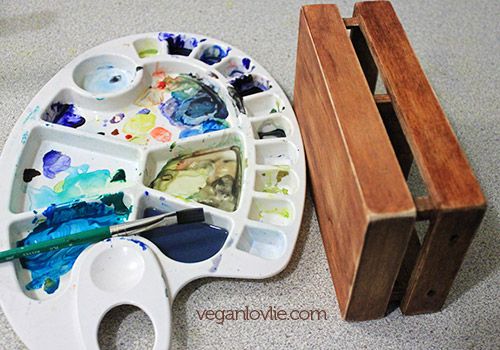
Tea stain was what I started with. This is a brew of extra strong tea: 6 black tea bags in half cup boiling water. This is the first layer applied using a small regular art paint brush.
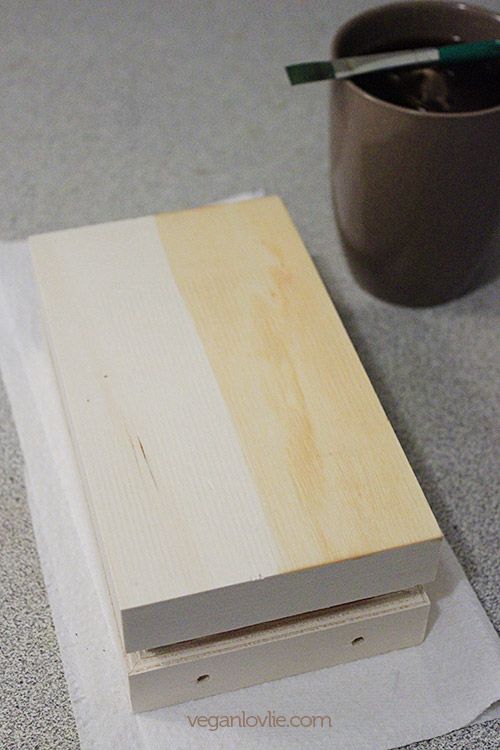
I applied it everywhere and let dry for a whole day, then applied a second layer and let dry again in front of the radiator. After repeating the process for over 10 layers, the colour was nowhere near what I wanted. A rich dark desaturated tone was more what I was looking for.
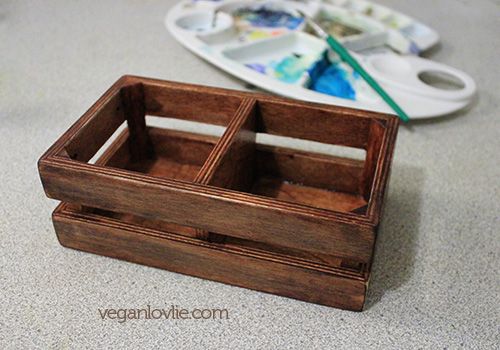
So, I switched to coffee stain instead. The brew is 5 - 6 tablespoons instant coffee granules dissolved in 1/3 cup boiling water.
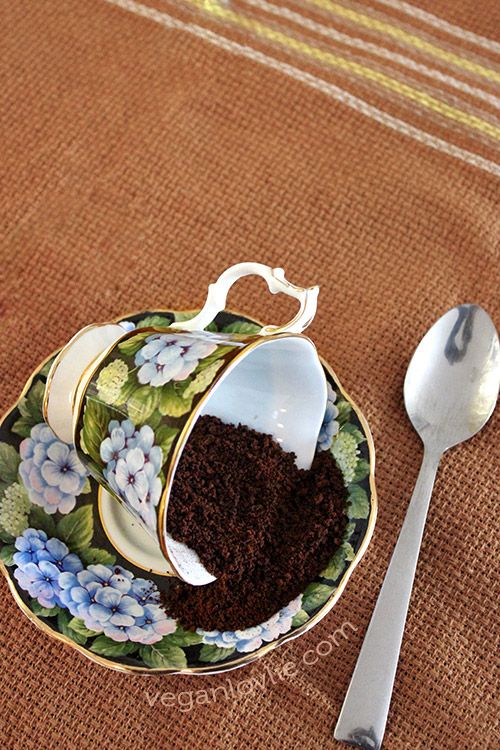
The intensity of the dye was really rich after the very first layer application.
Nonetheless, I still wanted a desaturated feel. So, I took out the acrylic paint set and blended a greyish indigo hue. A watery application was getting closer to what I wanted with some thicker applications at certain areas to create more interest and a denser natural feel.
The result was pretty good and I was happy with the colour. It did have the vintage feel I was after. Did you notice that I sanded the corners a little? That gave it more of the used vintage aspect.
Now my box wouldn't be complete without some handles. After considering a few choices, I used what I had: air dry clay. I added some texture to the clay by rolling the dough on a silicon corrugated texture mat.
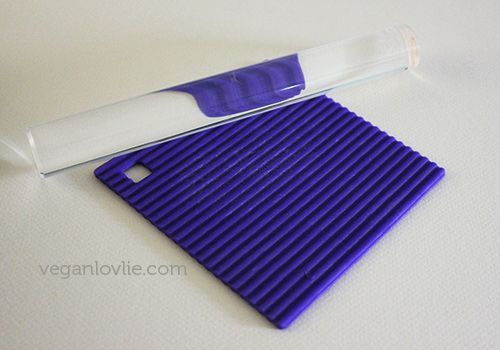
Next, I cut out 2 circles and rolled back one end towards the centre while curving it slightly like a crescent. This needs minimal handling otherwise the texture will start to fade.
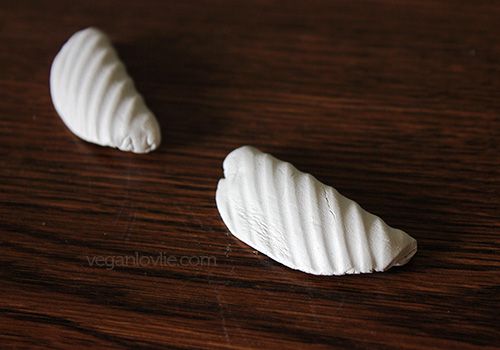
After leaving them to completely dry, I painted them with acrylic paint in an ochre hue accentuated with tones of olive green and brown.
The handles were attached using a hot glue gun. I did a little bit of a poor job there because you can see some of the glue seeping out. Oh well! It's not like the "craft police" is going to come for inspection, so we're good!
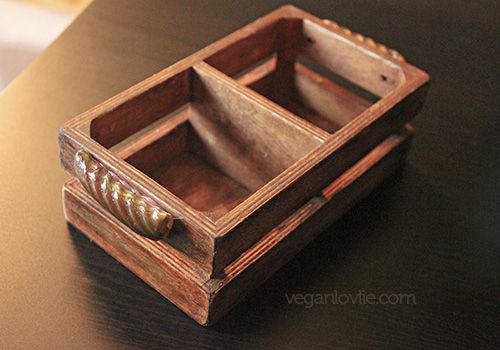
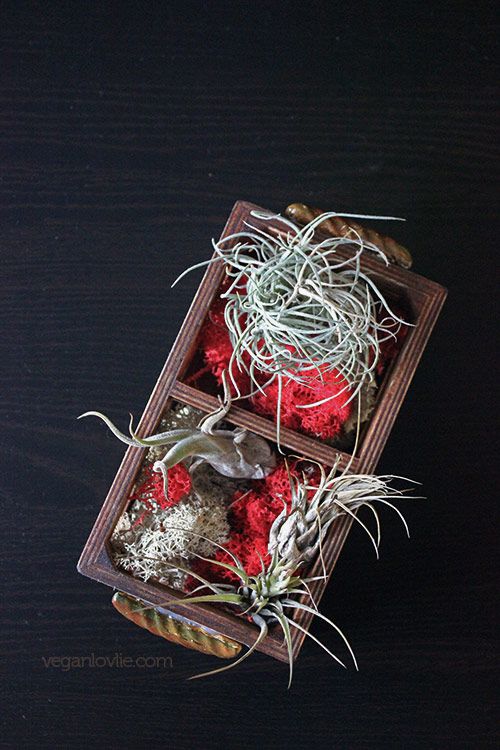
A good rub of olive oil gave the box a subtle sheen and would also protect the wood and colours; my vintage box was ready! You can use this box for anything or give it away as a gift. I decided to use it for my air plants.
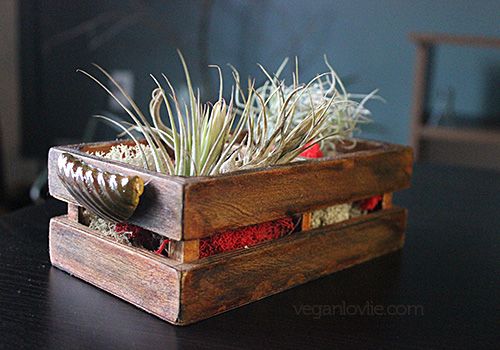
I added some white and red dyed lichen for more texture and colour.
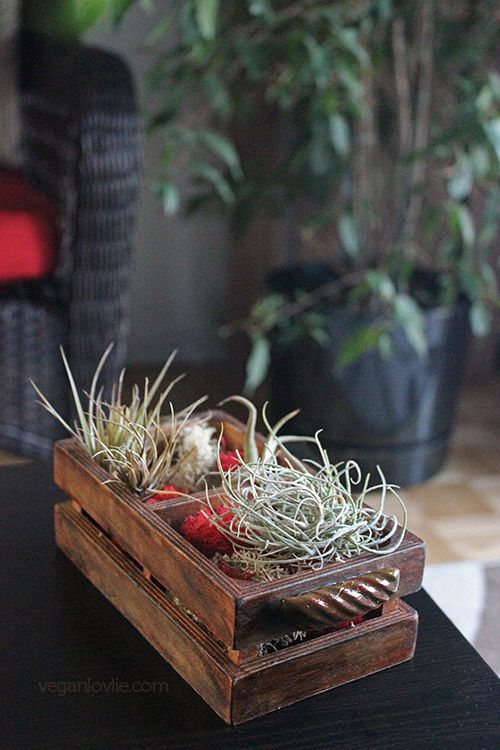
How do you like it? I find it pretty awesome that I didn't really have to buy anything new to make this box. Although I wonder how much coffee we'd need for larger projects. It might then be more cost effective to get some wood dyes if I can find a good one without the nasty smells and chemicals.
By the way, I have a newsletter brewing up soon. Subscribe by using the form right under the main menu above or here. You will receive more diy and craft stuffs like this, free recipes, resources and more, directly in your inbox. It's an occasional newsletter (since I do it in my spare time). So, I promise not to overflow your inbox.
You can also Follow Veganlovlie with Bloglovin.
You are so fabulous! Just love your recipes and nifty ideas like these!
ReplyDeleteI think the box looks very cool — I especially like the handles!
ReplyDeleteI love the finished box and the little plants inside.... great idea
ReplyDeleteWow, the box came out great! Love how the coffee stain color came out. Even for a bigger project, I would much rather use coffee than a nasty smelling stain. :-)
ReplyDeleteLooks cool! But one question. Does the wood absorbe the olive, or the surface remais oily?
ReplyDeleteThe first application is absorbed and only leaves a subtle sheen. After some time, it gets completely absorbed. So, from time to time, I apply more oil again to keep the sheen. I think a better oil to use would be linseed oil as it hardens when it dries and protects the wood for much longer.
DeleteThe surface is not oily though because this is untreated wood that had no prior finish.
Delete